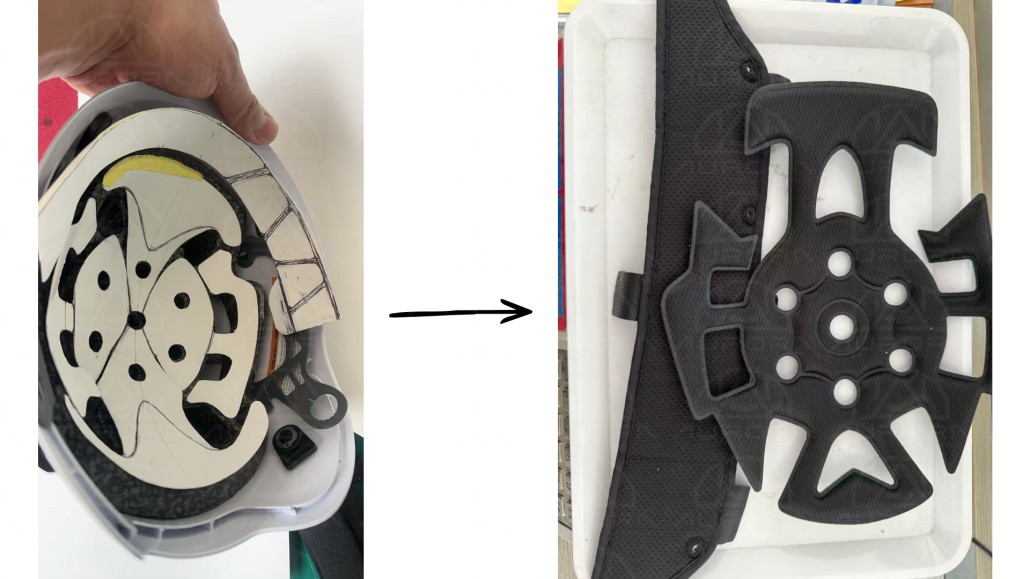
Helmet Padding Development Process: From Physical Helmet to Production-Ready Liner
Developing custom helmet padding is not simply a matter of cutting foam to fit inside a shell. The shape of the helmet, available internal space, size range, comfort requirements, and production method all need to be considered before the padding can move into tooling and mass production.
At Aurora Sports, we can develop custom helmet liners and interior padding directly from a customer’s physical helmet sample. This approach allows us to evaluate the actual interior geometry and create a padding system that is better matched to the product.
Step 1: Create the Liner Pattern From the Physical Helmet
Once we receive the helmet samples, our development team begins by studying the interior shape of the helmet.
We use the physical helmet as the basis for creating the initial liner pattern, taking into account the available internal space and the areas where the padding needs to sit.
Working directly from the actual helmet helps us develop a pattern that corresponds closely with the finished product rather than relying only on drawings or estimated dimensions.
For existing helmet models, this can be an efficient way to begin a custom padding development project.
Step 2: Produce a Manually Cut Prototype
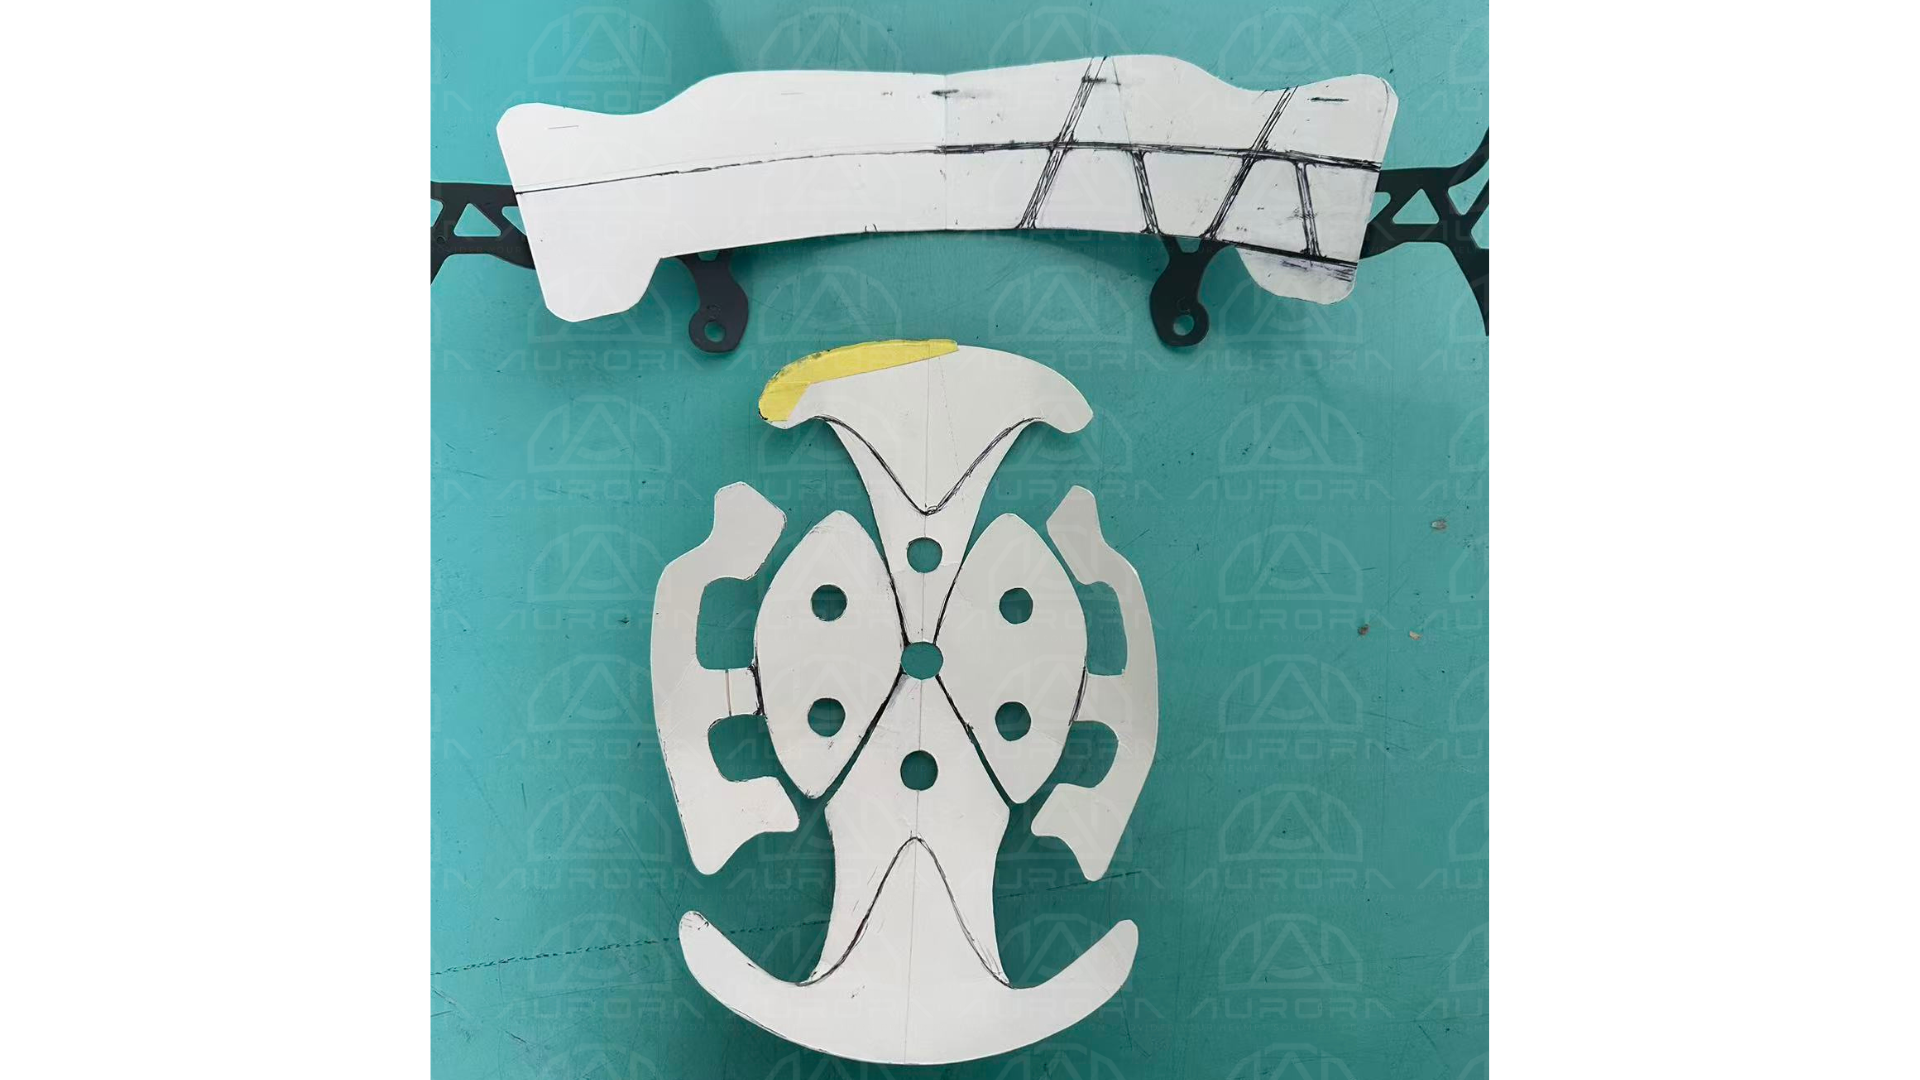
Before investing in production tooling, we first create a manually cut prototype.
This prototype allows the customer and our development team to evaluate the basic shape, fit, and comfort of the proposed padding.
At this stage, adjustments can still be made relatively easily. For example, the pattern may need to be modified in certain areas to improve positioning or overall fit inside the helmet.
The goal is to confirm the basic liner concept before moving to the tooling stage.
Step 3: Evaluate Whether Multiple Helmet Sizes Can Share Tooling
For helmet programs with several shell or size options, tooling cost can become an important part of the initial investment.
During development, we review whether different helmet sizes can use the same liner tooling where practical.
If one padding pattern or tooling configuration can be shared across multiple sizes, it may help reduce the number of molds or cutting tools required at the beginning of the project.
Not every helmet size can necessarily share the same liner design, so this needs to be evaluated based on the actual helmet dimensions and fit requirements.
However, reviewing this possibility early in the development process can help customers control tooling investment and simplify future production.
Step 4: Finalize the Padding Drawings and Patterns
After the manually cut prototype has been reviewed and approved, we finalize the production drawings and liner patterns.
This step converts the approved prototype into a more standardized specification that can be used for tooling and sample production.
Any adjustments identified during the fitting stage are incorporated before the final pattern is released.
Completing this stage carefully is important because the approved drawings become the basis for the production version of the helmet padding.
Step 5: Produce Cutting Tooling and Finished Samples
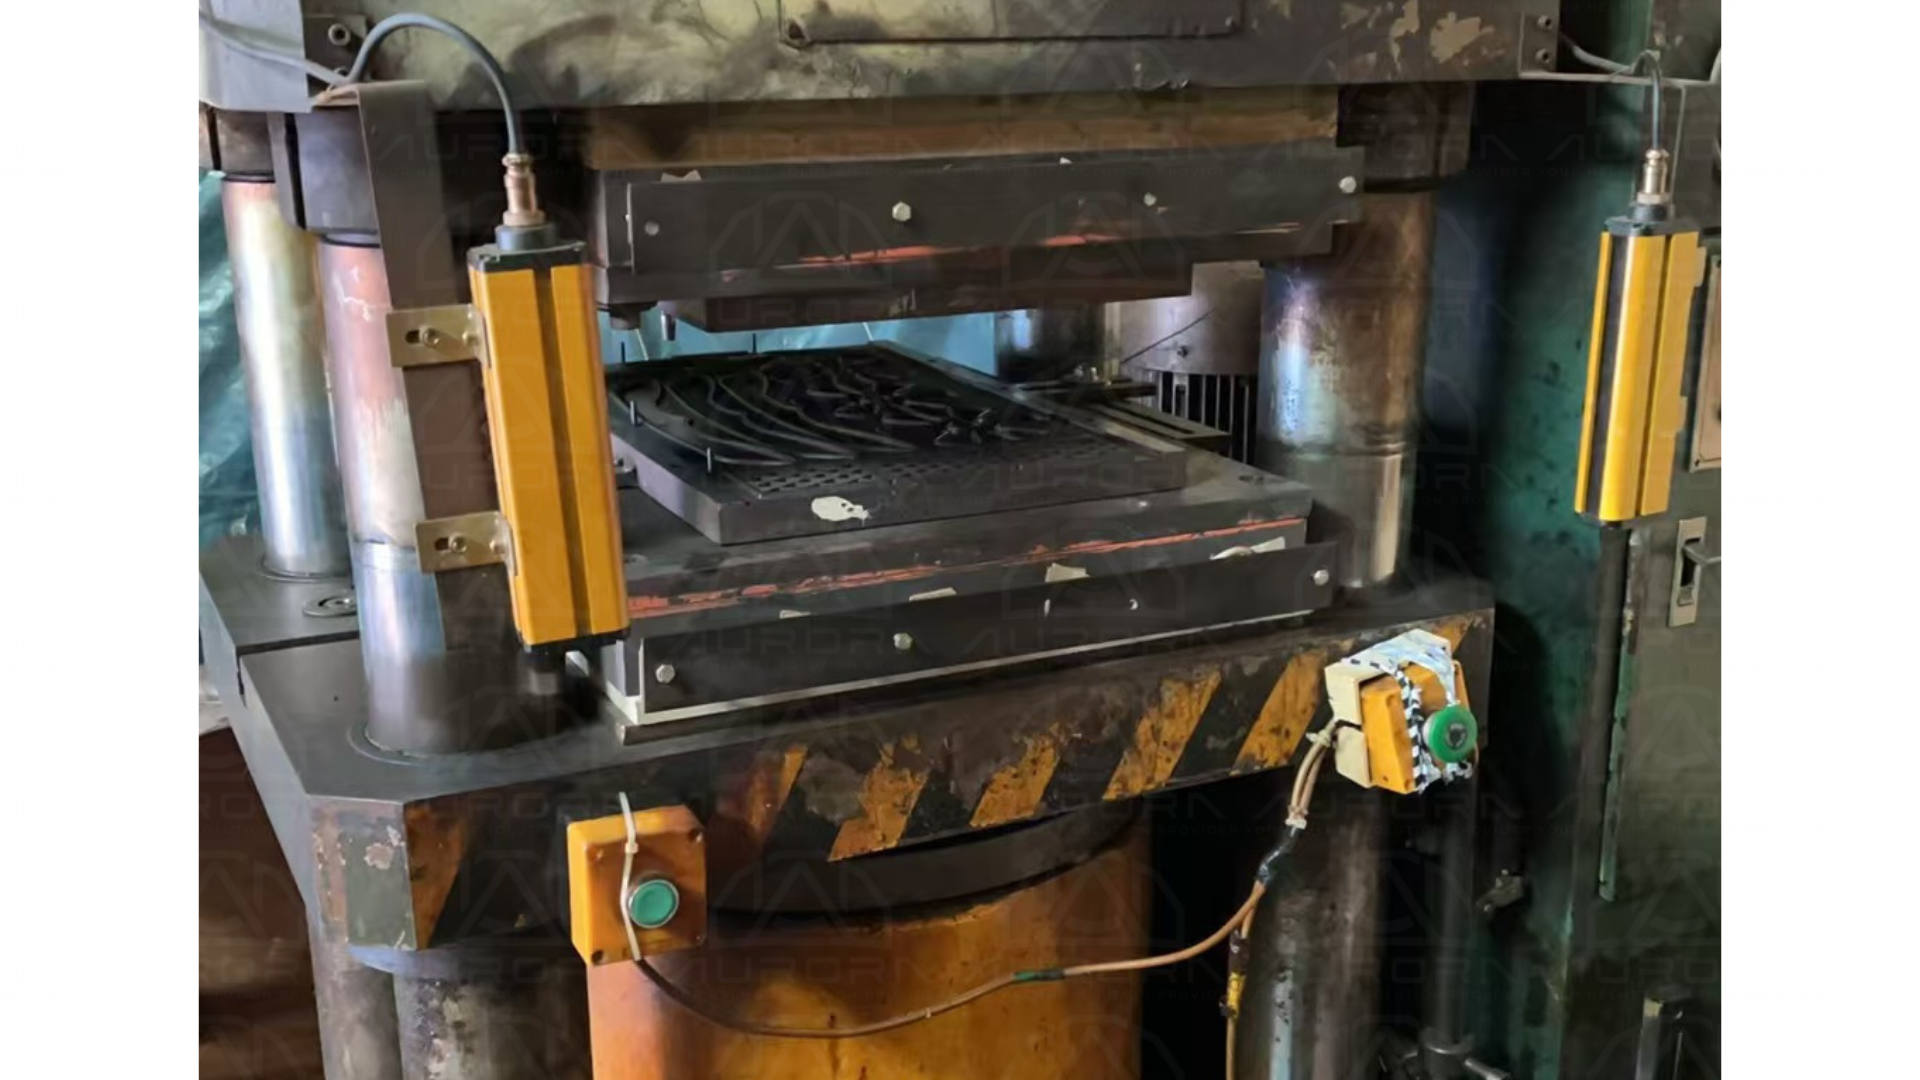
Once the final pattern is approved, we proceed with the required cutting mold or production tooling.
The tooling is then used to produce finished samples for final review.
These samples allow the customer to check the completed padding in the helmet before moving into larger-scale production.
The development sequence is therefore:
Physical helmet → liner pattern → hand-cut prototype → fitting review → tooling evaluation → final drawings → cutting tooling → finished samples
This process helps reduce unnecessary tooling changes by resolving the main fit and pattern questions before production tools are made.
Why Start With a Hand-Cut Helmet Padding Prototype?
One of the most important parts of this process is producing the initial prototype before opening tooling.
Going directly from a concept to production tooling can create unnecessary cost if the liner shape still needs adjustment.
A manually cut sample provides an opportunity to review:
-
Overall liner shape
-
Position inside the helmet
-
Fit against the existing helmet interior
-
Basic wearing comfort
-
Differences between helmet sizes
-
Potential for shared tooling
-
Areas requiring pattern adjustment
Once these points are confirmed, the project can move forward with greater confidence.
Reducing Helmet Liner Tooling Costs
For OEM and ODM helmet projects, development cost is always an important consideration.
One way to manage this cost is to determine whether several helmet sizes can share the same padding pattern or tooling.
For example, if two helmet sizes have similar internal dimensions, it may be possible to use one cutting tool with only minor adjustments to the liner configuration.
Where this approach is practical, it can help reduce:
-
Initial tooling investment
-
Number of production tools
-
Development complexity
-
Future replacement-tool requirements
The feasibility depends on the helmet design, so it should be reviewed using the actual physical samples rather than assumed in advance.
Custom Helmet Padding Development for Existing Helmet Models
This development process is particularly useful for brands that already have an existing helmet but need a new or improved internal padding solution.
Instead of developing an entirely new helmet structure, the padding can be designed around the customer’s current product.
This may be suitable for projects involving:
-
Replacement helmet liners
-
Upgraded interior padding
-
Private-label helmet programs
-
Different comfort configurations
-
New padding materials
-
New helmet size ranges
-
OEM and ODM helmet projects
By working from the physical helmet, the development team can create the padding around the actual internal geometry of the product.
From Prototype to Production
A successful helmet padding project should move through a controlled development process rather than jumping directly into tooling.
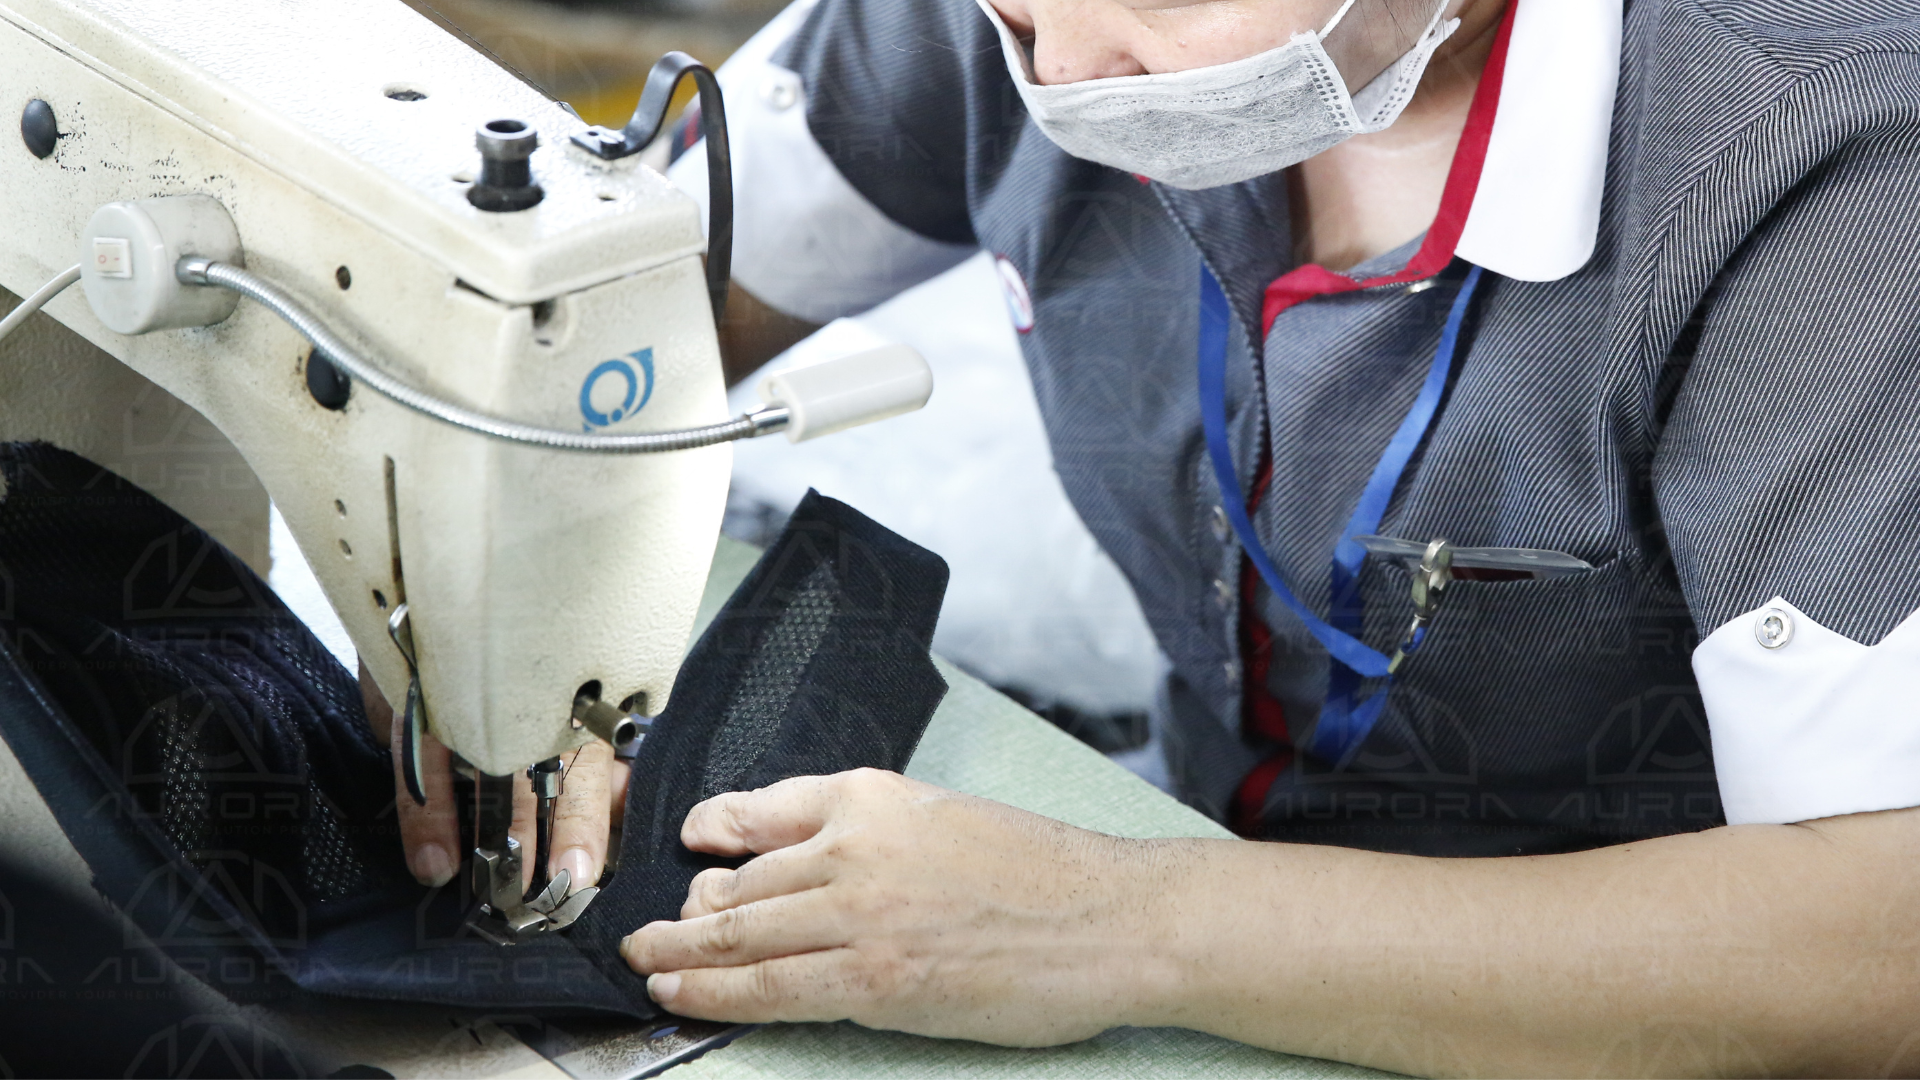
At Aurora Sports, our typical approach is to first understand the physical helmet, create the initial liner pattern, make a hand-cut prototype, review size compatibility, and only then finalize the production tooling.
This step-by-step process helps customers evaluate fit and comfort while also identifying opportunities to reduce tooling investment before mass production begins.
If you have an existing helmet and would like to develop custom helmet padding, replacement liners, comfort pads, or OEM interior components, you can send us physical helmet samples for evaluation.
Our team can review the helmet structure, create the initial padding pattern, prepare prototypes, and help determine the most practical route toward tooling and finished production samples.
Contact Aurora Sports to discuss your custom helmet padding or liner development project.
📱 +1 (657) 762-7550


